Posted on

RECYCLE & REUSE YARD TRIMMINGS FOR EARTH DAY 2024

Earth Day 2024 artwork

Articles

RECYCLE & REUSE YARD TRIMMINGS FOR EARTH DAY 2024

Residents Encouraged to Utilize Local Resources to Recycle Green Waste

With Earth Day, April 22, 2024, on the minds of Americans, the focus is on earth-friendly practices. According to an EPA report, there are 35.4BT of yard trimmings in the U.S. each year. Let’s all minimize yard waste in landfills: recycle & reuse yard trimmings. 

Earth Day 2024 artwork

RECYCLE CLEAN GREEN WASTE.

Cities offer green waste recycling program. Additionally, Living Earth® offers 10 conveniently located facilities across DFW that accept clean green waste, which is recycled to produce organic mulch and compost. Visit www.livingearth.net/locations to find a DFW recycling facility (located in Arlington. Aubrey/Celina, Dallas, Double Oak, Flower Mound, Fort Worth, Lakeside, Lancaster, Plano and Rockwall).

reuse green waste

Leaves, grass clippings and brush can be beneficially reused in yards in a variety of ways, including:

  • Grass-cycle – When trimmed correctly, grass clippings can fertilize lawns. Instead of bagging, let clippings fall beneath the grass where they will decompose quickly, adding nutrients back into your soil.
  • Composting – The most important tip for composting? Get the ratio right. The three ingredients are greens, browns and water. For greens, use grass clippings, flowers, leaves, etc. For browns, use twigs, dead leaves, cardboard and sawdust.
  • Mulching – Fallen leaves won’t harm lawns. If chopped with a mulching mower, decomposing leaves will also feed the lawn.
Pic of trucks dumping brush
Save valuable resources.

Diverting yard trimmings from landfills helps save valuable natural resources. Whether reused, recycled or both, yard trimming disposal can make a difference.

Living Earth® specializes in both retail and wholesale customers, including home gardeners, landscape architects, contractors and municipalities. Everyone is welcome.

Living Earth® is a proud member of the U.S. Composting Council, Texas Nursery & Landscape Association, Tennessee Nursery & Landscape Association, International Play Equipment Manufacturers Association and more.


Posted on Leave a comment

How to Plant a Tree: Expert Tips for Healthy Growth

Image of trees and sunlight
Articles

How to Plant a Tree: Expert Tips for Healthy Growth

The Ultimate Guide to Tree Planting and Soil Preparation

Planting a tree is one of the best ways to beautify your landscape, boost property value, and support the environment. But did you know that proper preparation and planting techniques can mean the difference between a thriving tree and one that struggles to grow?

In this guide, we’ll walk you through step-by-step tips for planting a tree—from researching the best species for your area to preparing the soil and providing long-term care. Whether you’re planting a shade tree, fruit tree, or ornamental tree, this article will ensure you get it right the first time!

Tree canopy providing shade

STEP 1: Research BEFORE YOU PLANT.

Before heading to the nursery, research the best trees for your region. Factors like soil type, climate, and available space all play a major role in a tree’s growth.

💡 Pro Tip: Check out resources like the Arbor Day Foundation for information about native and climate-adapted trees.

STEP 2: CHOOSE THE RIGHT SEASON TO PLANT.

Timing is everything when it comes to tree planting.

  • Fall is the ideal season for planting because roots have time to establish before winter.
  • Spring can also work if you plant early enough for roots to grow before the heat of summer.

STEP 3: PICK THE PERFECT tree.

Once you’ve identified suitable tree species, look for locally grown trees at a nursery or garden center. Many cities even offer tree-sharing programs to help you get started.

💡 Tip: Make sure the tree is healthy with no signs of disease or damage.

STEP 4: call 8-1-1 BEFORE DIGGING.

Don’t ever dig in your yard without first calling 811. A crew will come out and mark all gas, electric and other lines buried underground.
Digging a hole for planting a tree

STEP 5: DIG THE PERFECT HOLE

Dig a hole that’s twice as wide as the tree’s root ball but no deeper than the root ball’s height.

  • Loosen the soil at the bottom of the hole to help roots establish easily.
  • Remove any large rocks or debris to promote drainage and root growth.

STEP 6: PREPARE & AMEND THE SOIL

Healthy soil is the foundation of a strong, long-lasting tree. Before planting, amend the soil to improve its texture, structure, and nutrient content.

🌱 Use Living Earth® Organic Compost to:

  • Enrich poor soil with organic matter.
  • Improve drainage and aeration.
  • Provide nutrients essential for root development.
SHOP Living Earth® Organic Compost
Mulching around a newly planted tree

STEP 7: PLANT THE TREE

Carefully remove the tree from its container and position it in the hole.

  • Ensure the tree sits at the same depth it was planted in the pot.
  • Create a watering ring around the base to prevent runoff and encourage moisture retention.

STEP 8: BACKFILL WITH QUALITY SOIL

Fill in the hole with high-quality soil, like Tree & Shrub Mix, to secure the tree.

  • Lightly tamp down the soil without compacting it.
  • For dense soils, consider adding an aggregate like a clay breaker for better drainage.

Shop Tree & Shrub Mix

STEP 9: WATER THOROUGHLY

Water the newly planted tree immediately after planting. Deep watering encourages roots to grow downward, making the tree more drought-resistant.

STEP 10: STAKE THE TREE FOR SUPPORT

Young trees may need stakes for support until their roots are well established.

  • Use soft ties to avoid damaging the bark.
  • Monitor regularly and remove the stakes once the tree is stable.

STEP 11: MULCH & FEED

Mulch helps retain moisture, regulate soil temperature, and reduce weed growth.

  • Apply a 2-4 inch layer of Living Earth® mulch around the base of the tree.
  • Keep mulch 2-3 inches away from the trunk to prevent rot.
  • Feed with a slow-release fertilizer for long-term nutrient support.

Shop Living Earth® Mulch

Why Planting Trees Matters

Planting trees improves air quality, prevents soil erosion, and provides wildlife habitats. It’s also an eco-friendly way to reduce your carbon footprint.

With the right soil preparation and care, your tree can thrive for generations—so why wait? Start planting today with Living Earth’s premium compost and soil mixes to ensure success.

FAQs About Planting Trees

1. What is the best time of year to plant a tree?

  • Fall is the best season, but spring also works if planted early.

2. What type of soil is best for trees?

  • Well-draining, nutrient-rich soil with organic compost is ideal.

3. How often should I water a newly planted tree?

  • Water deeply 1-2 times per week during the first year, depending on weather conditions.

Ready to Plant? Get Premium Compost and Soil from Living Earth®

Plant your tree with confidence using Living Earth® Organic Compost and Mulch. Visit our online store or stop by one of our locations to get started today!


Posted on Leave a comment

HOW TO USE ROCK, GRAVEL & STONE TO PREVENT FLOODING

Build a dry creek bed to help with flooding

Articles

HOW TO USE ROCK, GRAVEL & STONE TO PREVENT FLOODING

Learn More About French Drains, Dry Creek Beds and Retaining Walls

Whether due to erosion or dramatic weather patterns, standing water and flooding are challenges often faced by homeowners. The good news is, we have some solutions! Some of these projects can be done over the weekend but others may require a professional.

How to use a French drain to help with standing water

Install a French drain.

A French drain is an effective way to reduce standing water on your property. French drains are comprised of filter fabric, slotted pipes and gravel.

To create a French drain:

  • Dig a trench in the area where water tends to collect. Depending on your project, the trench should be about 18 inches deep and 9 to 12 inches wide. The drain must slope downward by at least 1%.
  • When your channel is prepared, line with permeable landscaping fabric with several inches of excess along the sides (this will be used later).
  • Afterwards, cover your fabric with a few inches of gravel to aid drainage.
    The next step is to insert the slotted pipe, cover with washed gravel and use excess landscaping fabric to wrap over the gravel.
  • Finally, add several inches of topsoil to level the area.
Build a dry creek bed to help with flooding
Add a dry creek bed.

A low-maintenance form of hardscaping, a dry creek bed is a shallow channel that is lined with landscape fabric and filled with varying sizes of stone and gravel. Also called an arroyo, it is designed to channel water away from low-lying areas in your yard and help prevent flooding. 

To create a dry creek bed:

  • First, mark out the area where you want the channel to go.
  • Then, dig a shallow trench and fill it with river rock, stone and gravel.
  • When you are finished, add plants and other landscaping features for a beautiful finishing touch and to make the creek bed look more natural.
Retaining walls can help with proper drainage in your yard.
BUILD A RETAINING WALL.

A retaining wall can help decrease erosion and keep soil in place during heavy rain or flooding. It can divert water from your home, eliminating damage caused by freeze and thaw cycles that may occur during winter months. Moreover, retaining walls can add visual interest and provide more functional space in your yard. 

Before beginning your retaining wall project, talk to local garden and landscape experts. An expert DIY project, larger retaining walls need to hold their shape while supporting the pressure of the land behind it. With every additional foot of height, the pressure of the soil increases substantially. A shorter wall is an easier DIY project.

If a retaining wall isn’t built properly, it can break down. The keys to a well-built wall include 1) structure 2) materials and 3) drainage.

To help you decide on the best course of action, consider: 

  • Location 
  • Size
  • Material you’d like to use such as wood, bricks, natural stones or concrete blocks
  • Drainage needs
  • Consultant needs

There are many ways to improve the landscape drainage and flood prevention. Which one you select will depend on yard conditions, local and neighborhood building codes and regulations, location of utility lines and more. 

If you are not certain, we recommend hiring a reputable landscape architect. 

Remember, always call 811 before you dig. https://call811.com.


Posted on Leave a comment

How to Start Composting: The Basics

Composting keeps food waste out of landfills and can be used to nourish soil

Articles

How to Start Composting: The Basics

Did you know that food waste that is not composted usually ends up in a landfill? As a result, it contributes to greenhouse gas emissions. Fortunately, you can do your part to reduce this impact. By starting composting today, you’ll create nutrient-rich soil for your garden and help the environment. Follow this easy compost recipe to get started!

Layering leaves, grass clippings, and food scraps in a compost pile to create nutrient-rich soil for gardening.

A Simple Guide: How to Start Composting

  1. Pick the Right Spot

    First, choose a 4-foot by 8-foot area, preferably shaded, where water does not collect when it rains.

  2. Build the Base Layer

    Next, cover half the area with a 6-inch layer of leaves. Water thoroughly to create a moist foundation.

  3. Add Organic Materials

    Then, add a 2-inch layer of grass clippings, fruit and vegetable scraps, and a dash of soil to build the second layer. Then, mix this layer into the one below using a hoe or cultivator.

  4. Mix and Water

    Blend the new layer into the base using a hoe or cultivator, and water thoroughly.

  5. Top It Off

    Finish with a 2-inch layer of leaves to cover food materials and keep the pile balanced.

Pro Tip:

To speed up decomposition, build your pile to 3 feet high as quickly as possible. Then, turn it over every 2–3 weeks to mix materials evenly. Remember, adding water as needed keeps the pile moist and encourages faster breakdown.

When Is Compost Ready?

Finally, your compost is ready once the original ingredients break down completely. You’ll know the compost is ready when it smells like rich, healthy soil—perfect for gardening! Use it to fertilize your garden, flower beds, or potted plants.

What Can Be Composted?

  • Fruits and Vegetables
  • Dairy Products
  • Grains and Bread
  • Unbleached Paper Napkins
  • Coffee Filters and Eggshells
  • Newspaper

Learn more about composting basics from the EPA’s Guide to Composting at Home.

What Should Not Be Composted?

  • Plastics, including utensils, bags, and wrap
  • Grease, glass, or metals
  • Condiment packages, foil, or polystyrene
  • Chemicals or treated wood

For Advanced Composters

You can compost items like red meat, bones, and paper in well-controlled piles. However, they decompose more slowly and may attract pests. Use a secure composting system to handle these materials safely (or avoid all together).

Composting Tools and Ready-to-Use Options

There are many ways to compost, as well as a plethora of tools to make it easier, from small countertop bins to large backyard tumblers. If you’re short on time, you can even buy ready-to-use compost, such as Living Earth® Organic Compost.

Visit The Composting Council for additional composting tips and tools.

Get Started with Composting Today

Now that you know how to start composting, take the next step! Start your compost pile today or explore ready-to-use compost options for faster results.

In summary, composting is an easy, eco-friendly way to reduce food waste and create healthy soil for your garden. Whether you build your own compost pile or buy ready-made compost, this sustainable practice helps plants thrive while benefiting the planet

For more composting tips, tools, and ready-to-use products, contact Living Earth or visit our organic compost product page today!


Posted on Leave a comment

HOW TO BUILD A POLLINATOR GARDEN

Articles

Detail,Of,Honeybee,In,Latin,Apis,Mellifera,,European,Or,Western

HOW TO BUILD A POLLINATOR GARDEN

What is a pollinator garden? A pollinator garden is planted to attract a wide range of pollinating insects (and birds too!). Reminiscent of victory gardens during of World War I and II, pollinator gardens are also about shoring up food supplies – but this time it’s for pollinators.

The goal of pollinator gardens is to provide nectar and pollen to reverse the decline of pollinators and to provide habitat (milkweed) for Monarch butterflies.

The populations of our native bees, butterflies and other insect pollinators have been declining for several decades. In 2015, the American Society of Landscape Architects (ASLA) joined forces with New York Senator Kirsten Gillibrand to encourage pollinator habitats on transportation right-of-way. Since that time, pollinator garden design is at the heart of most garden planning. 

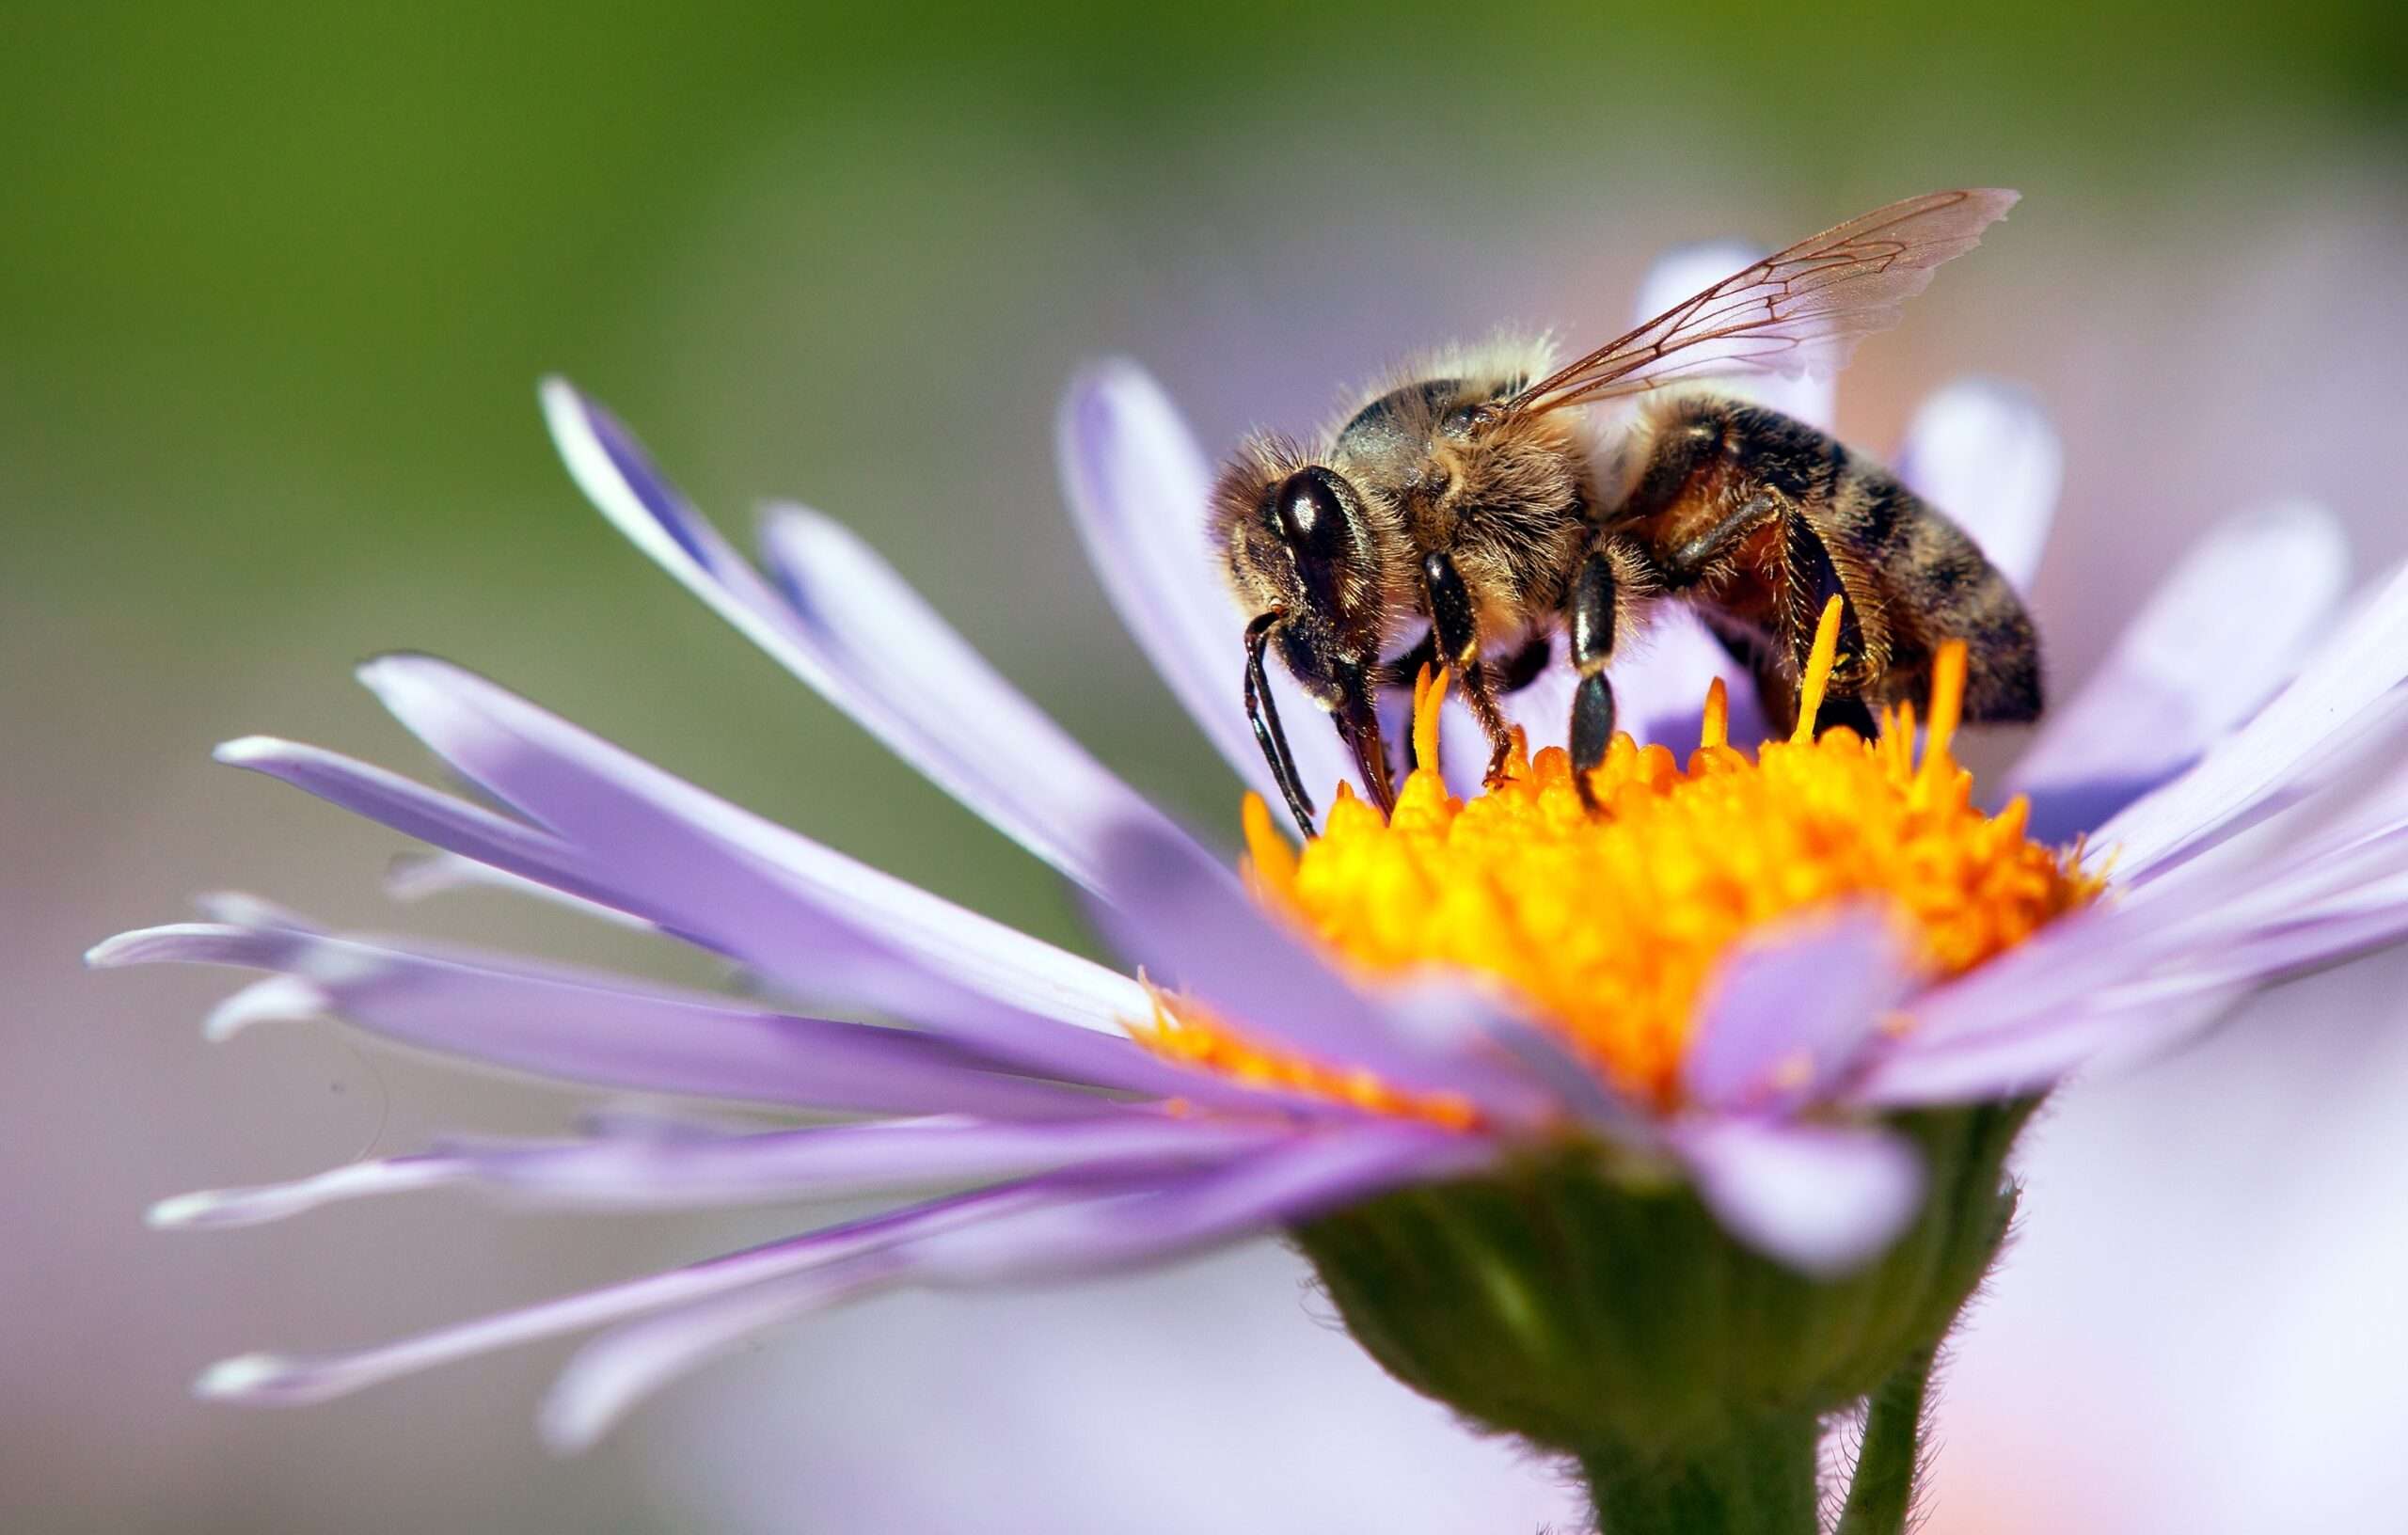
According to USDA research, pollinators are responsible for one out of three bites of food we take each day. Without pollinators plants would not reproduce! There are more than 200,000 species of beneficial insects such as bees, butterflies, wasps, ants and moths, and more than 1,000 vertebrates such as birds, bats and small mammals that are also pollinators.

Pollinators travel from plant to plant carrying pollen that allows the transfer of genetic material critical to the reproductive system of most flowering plants – the very plants that:

  • Produce fruits, vegetables and nuts
  • Produce oils, fibers and raw materials
  • Prevent soil erosion
  • Increase carbon sequestration

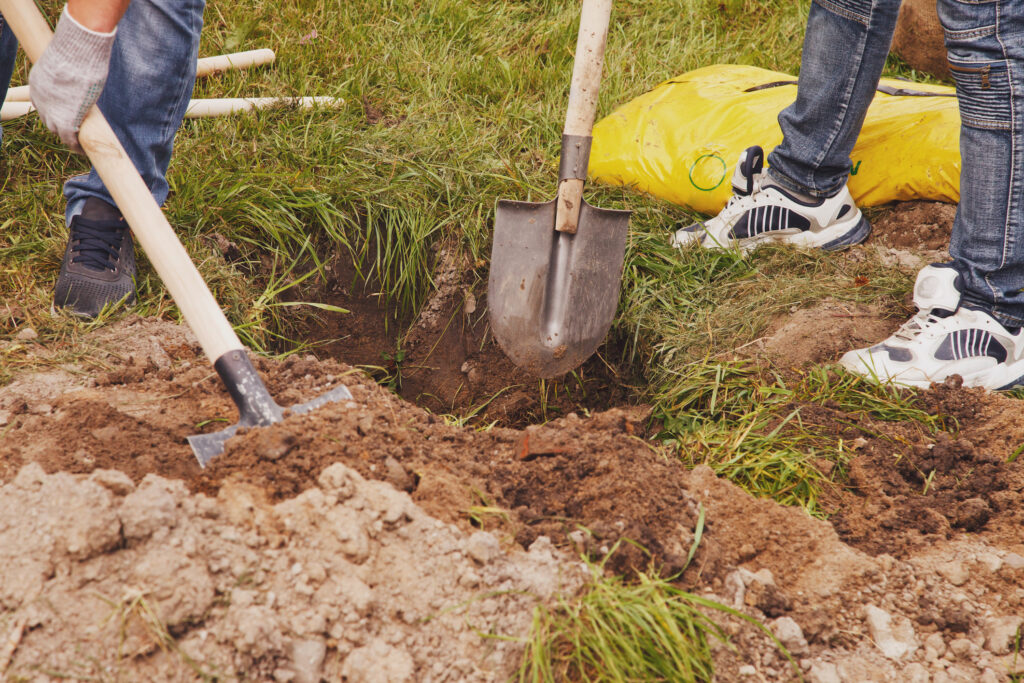
Follow these steps to build your pollinator garden:

DETERMINE LOCATION 

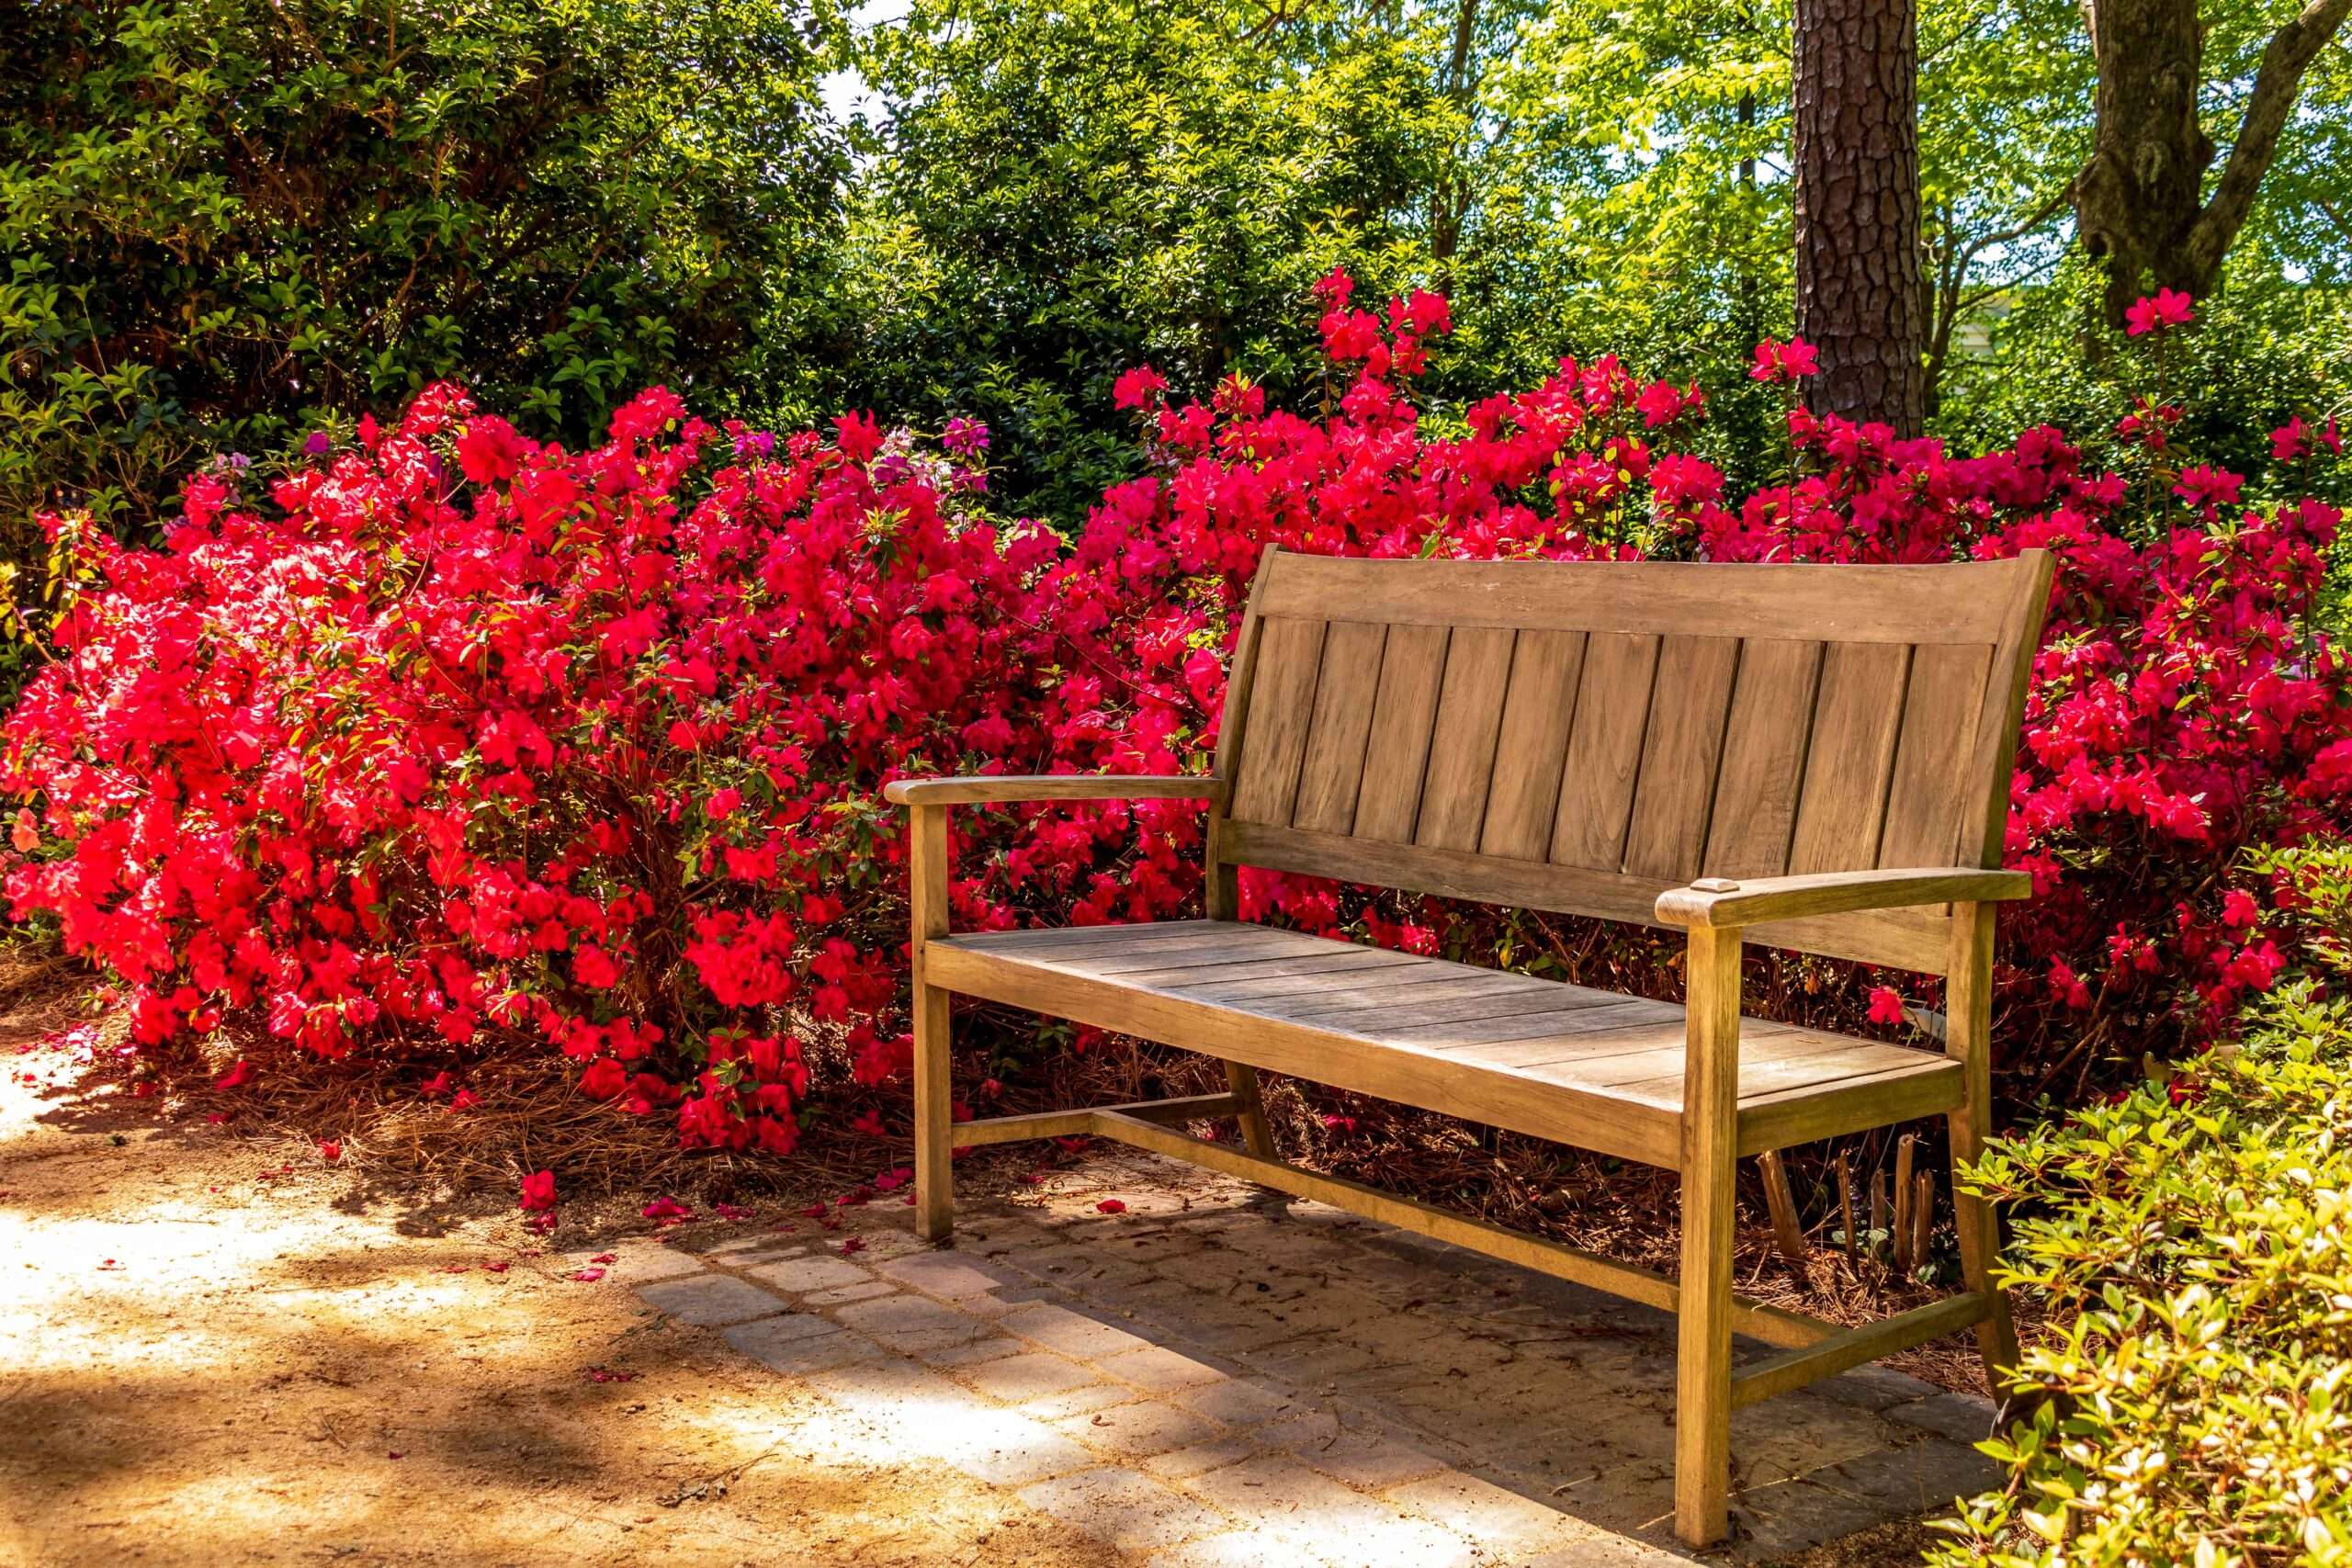
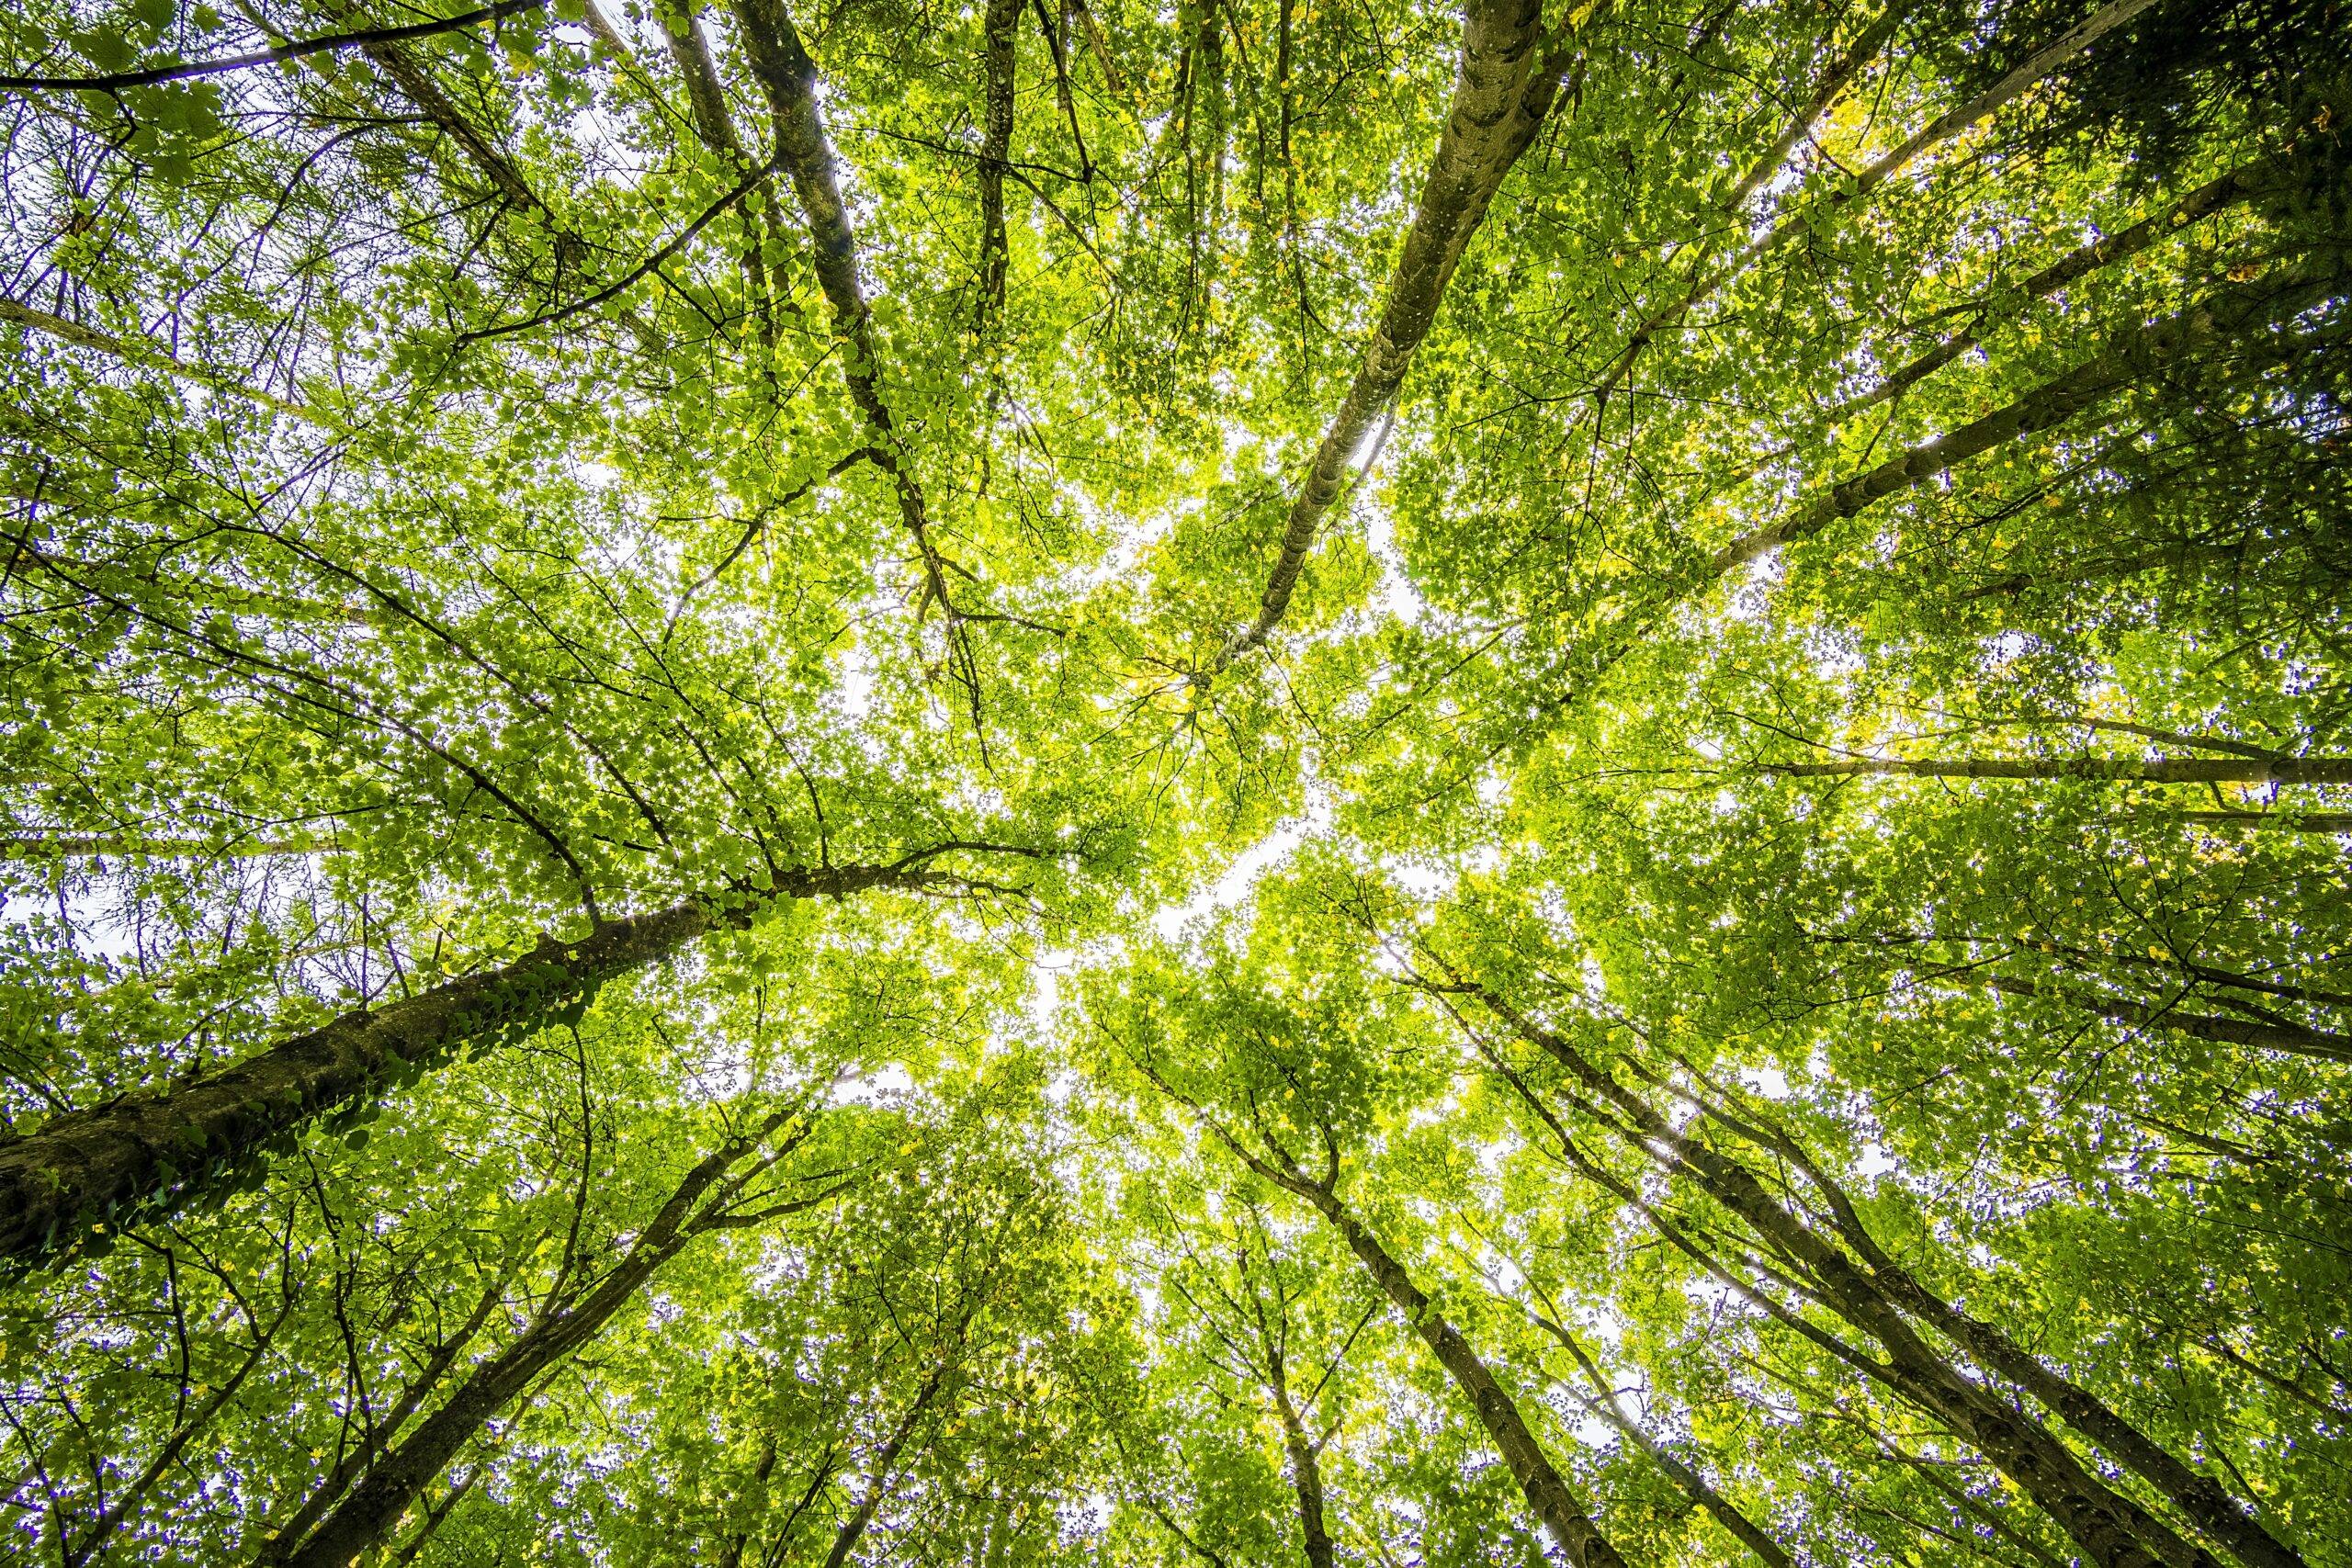
Butterflies and other pollinators love the sun, and their favorite wildflowers grow best in full or partial sun. Protection from the wind is also important. 

If you are planning an in-ground pollinator garden, consider your soil. Is the soil sandy and well-drained or more clay-like and wet? Both soils can be amended to provide the best possible conditions for your garden.

If you’d like to learn more about your soil before planting, consider testing. Soil tests are a good way to measure health and fertility. The tests are generally inexpensive, though well worth any cost when it comes to growing success.

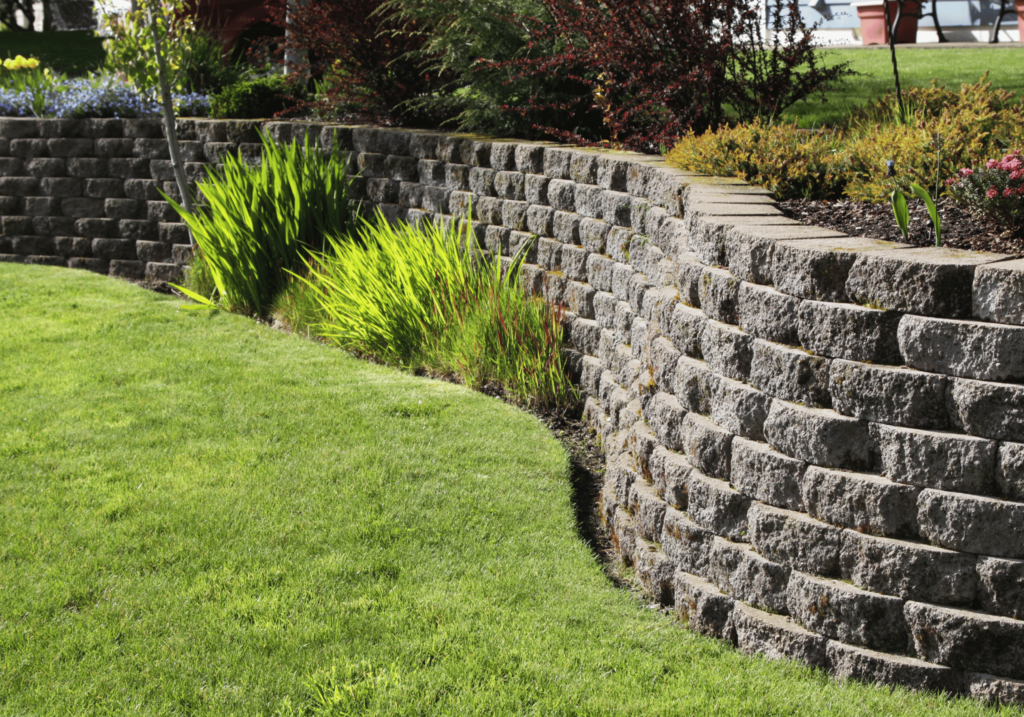
Raised bed pollinator gardens allow gardeners more control over the soil and additives but in-ground pollinator gardens are great too. It is a matter of preference.

Butterflies love the sun!

PLAN

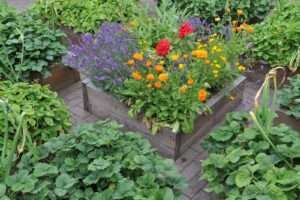
Now that you know where you want your bed, it’s time to consider plants, color, texture and height. Plant placement is just as important as plant choice. Use the interior design rule of planting in odd numbers, like threes or fives. 

Insects prefer not to have to search widely for high-energy nectar, so an expansive wildflower-sprinkled meadow is not ideal. Flying uses a lot of energy. Instead, pollinators prefer adjacent groupings of their favorite plants because it shortens their commute.

Choose plants native to your region. 

Native plants share a long evolutionary history with their pollinators, so including a wide variety of natives will make your garden a favorite destination for pollinators. Choose carefully to match the site conditions; natives will flourish without the addition of fertilizers and pesticides.

Choose nectar- and pollen-rich flowers with a range of shapes, sizes and colors. 

Pollinator favorites such as black eyed susan and salvia help attract pollinators, but diversity is the key to a successful garden. Because each pollinator has its own techniques for sourcing nectar and pollen, flowers should be as varied as the pollinators that visit them.

Remember the butterflies!
Without host plants for butterfly larvae (caterpillars) to eat, there will be no butterflies! So don’t forget to provide this vital food source. Many butterfly larvae can only feed on one or two specific host plants—particularly native trees, shrubs, and perennials—that are vital to their survival. For example, Monarch caterpillars only eat milkweed.

If you are like most gardeners and like input from the experts, use the Pollinator Partnership’s tool for selecting pollinator plants based on region or talk to your local Living Earth representative. 

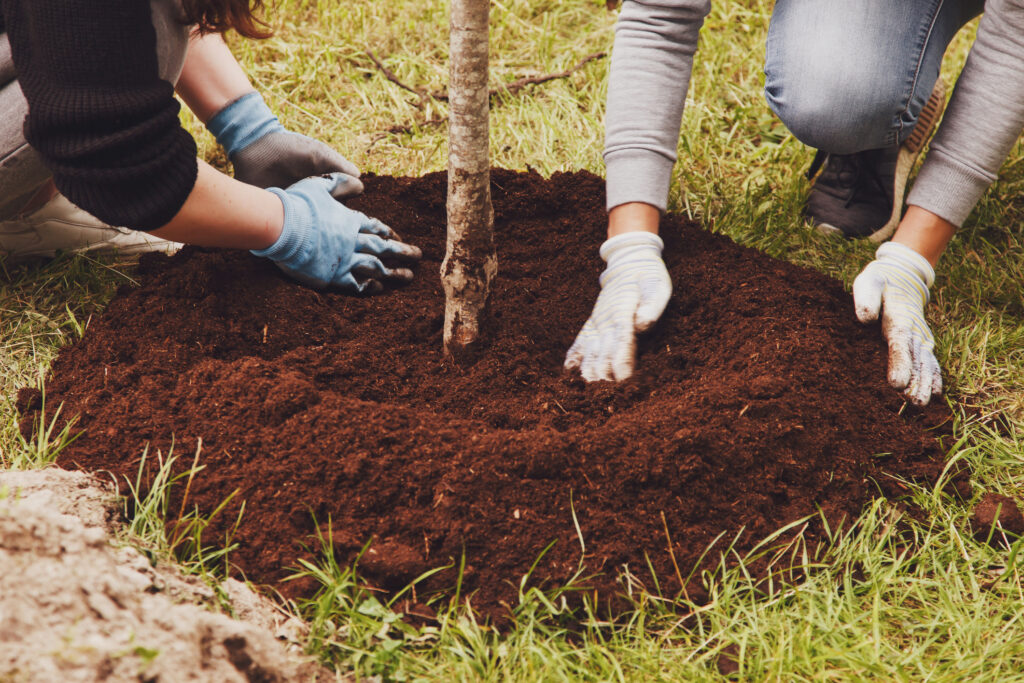
Determine the best soil solution.
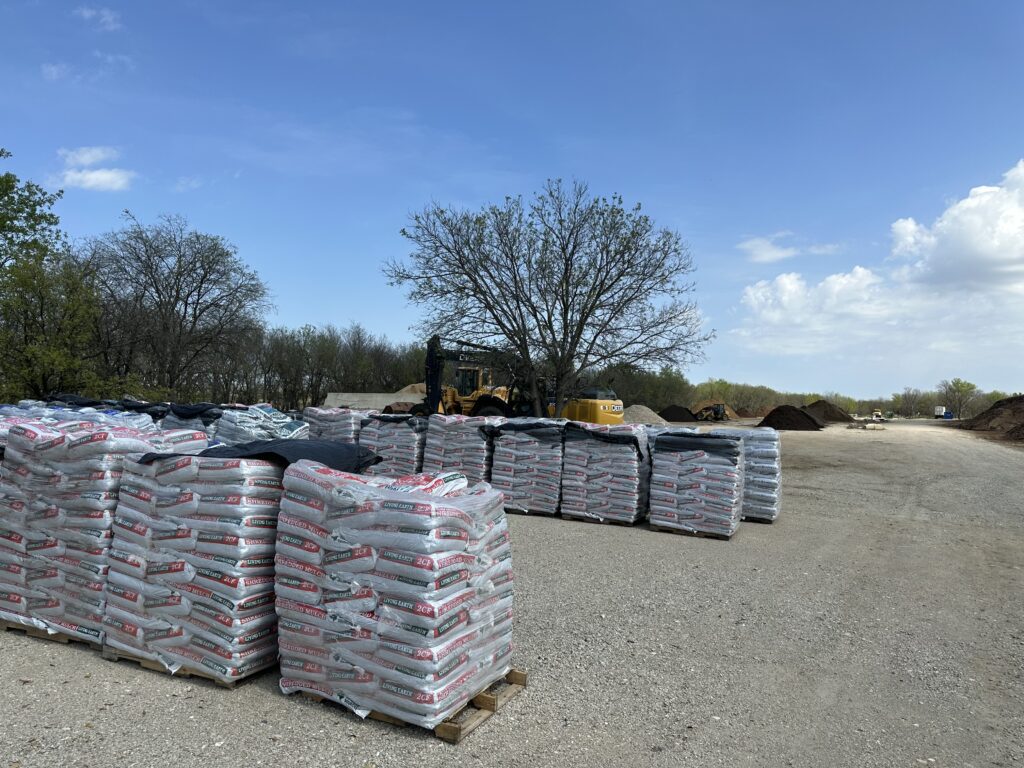
Don’t forget to buy organic Living Earth products before you plant! Product recommendations may vary based on application, region and soil conditions, including:

  • Tree & Shrub Mix, a direct planting media that doesn’t need to be mixed into existing soil for in-ground beds
  • Landscaper’s Mix, which should be blended into existing garden soil to be most effective, is an ideal media for in-ground beds
  • In Tennessee, Magic Mix is an ideal formulation for in-ground and raised beds
  • For raised beds, Organic Garden Soil is ideal but, in most cases, must be amended
  • For well-tended garden beds, you may not need to do much more than mix in some Premium Organic Compost

For more information about raised garden beds, visit our About Raised Garden Beds page.

Seeds vs plants.
Once you’ve identified your plant species, decide whether to use seeds or start with small plants. If you’re using seeds, plan on dispersing them the fall or late winter ahead to give them time to germinate before the summer growing season. 

If you are going to use plants, then aim for early spring planting but be sure to do so just after the last recorded frost for your area. 

If you aren’t quite sure about your garden yet, use local resources. Consult a landscape architect to help you design and integrate solutions, which range from plant selection and design to features to collect rainwater. There are other resources available as well. For example, did you know many cities offer free sprinkler evaluation? 

READY. SET. ENJOY!

Now that you have planted your garden, all you need to do is reap its rewards. That and water frequently and fertilize regularly!

If you are planting seeds over the fall, it takes a little longer but no matter the timing, once your pollinator garden is in full bloom, you’ll have an active, beautiful garden that’s well worth the effort – for you and the planet.

Remember… Even one pollinator-friendly plant makes a significant difference!


Posted on Leave a comment

Protect Your Plants From A Freeze

Articles

Protect Your Plants From A Freeze

Essential Tips for Gardeners

Ice and cold weather can kill your plants, learn how to protect them from a freeze

When cold weather arrives, safeguarding your plants from a freeze is crucial to their survival. While many gardeners know the basics, a freeze can still catch you off guard. By preparing ahead of time and following expert advice, you can protect your plants and keep your garden thriving, even in harsh conditions.

Know the lowest temps your veggies can handle and follow these tips:

Keep Plants Hydrated

Hydration is essential for plants year-round, but especially before a cold snap.

  • Water Consistently: Reduce watering during cooler months but avoid letting the soil dry out completely. Dry plants are more susceptible to freezing.
  • Check Your Mulch: Ensure a layer of mulch—about three inches—is in place to insulate roots. Our Premium Colored Mulch is a great choice, with brown blending beautifully into the winter landscape.
  • Maintain Moisture Levels: Healthy soil moisture is critical. Overwatering can be just as harmful as underwatering, particularly in areas prone to temperature fluctuations.

Protect Your Plants From A Freeze

Cover Your Plants

Providing adequate coverage is key to protecting your plants from frost.

  • Use Frost Cloths or Fabric: Old bed sheets, burlap, or frost cloths work well for covering plants. Avoid using plastic or plastic-lined materials, which can trap moisture and cause more harm.
  • Focus on Potted Plants: Plants in containers are more vulnerable to freezing than those in the ground, as their roots are less insulated. Cover these plants to give them an extra layer of protection.

Bring Plants Indoors for Extra Protection

For potted plants, relocating them indoors is one of the best ways to protect them during freezing weather.

  • Move Plants Inside: Bring potted plants into your kitchen, garage, or other sheltered areas. If you have a greenhouse, ensure a backup power source is available in case of a power outage.
  • Act Early: Move plants before temperatures dip below 45°F to reduce stress. Advanced planning allows you to provide the best care for your plants.

Avoid Using Salt Near Plants

While de-icing is essential for safety, salt can harm plants and soil.

  • Skip the Salt: Traditional de-icing salts can damage plants, pollute water runoff, and harm the environment.
  • Use Non-Toxic Alternatives: Opt for materials like concrete sand, lava sand, or granite sand, which are non-polluting and beneficial to garden soil when washed off pavement.

Plan Ahead for Success

Taking action while the weather is mild is the best way to ensure your plants thrive through winter. Protect your plants, care for your tools, and prepare your garden for colder months with these practical tips.

For personalized advice and more tips on protecting your landscape, contact a Living Earth expert. Together, we can help you create a garden that weathers any storm.